Today, I'm sharing this tear bear easel card I created. I made this using different papers and sprinkles from Doodlebug Design. I added some paper flowers and heart cabochons.
The girly monster tear bear, the cake and presents were created with super cute svg cutting files from Kadoodle Bug Designs. I made this tear bear with thick mulberry paper.
I uploaded the files, and designed this project in Cricut Design Space, and then cut it with my Cricut Explore.
I tried something different to me. I made the tear bear monster first. And then I matched him with Doodlebug Design Paper.
This is my entry into the Cute Card Thursday Challenge found here: Anything Goes
http://cutecardthursday.blogspot.com/2015/10/challenge-396-anything-goes.html
I made this Album for my daughter and can't wait to add pictures, notes and little mementos.
This holds 11 pictures and has 4 pockets. It makes the perfect keepsake.
I created this using the following files in Cricut Design Space. They were cut with my Cricut Explore. (feel free to have them, type the URL in your browser. :)
I cut everything with my Cricut Explore and gathered up all of my supplies. I added a toilet paper roll that I would cut down and glue my tear bear to, so that it would stand up.
I used super cute papers from Doodle Bug Designs and the Halloween Recollections Cardstock pad.
I didn't plan on using all this, but I wanted plenty of fun decorative choices for my mini Scrapbook Album Embellishments. These items made me more excited about working on this project.
These items were used to make my Tear Bear. (AKA: My Go to Leinzlove Tear Bear supplies).
I chalked each of the box layers around the edges, I placed double sided tape under the two middle layers to create pockets. I then taped the smaller middle layer too the bigger middle layer.
I chalked each of my photo mats and used a photo mat to wrap the bottom of the toilet paper roll. I glued it onto the roll and cut it down to where the paper begin. (Approx. 2 inches)
I then glued all of my layers together, just in the center. I also added my photo mats leaving room for my embellishments.
After I finished my box base. I made my tear bear. I traced each piece of my tear bear into mulberry paper. I used my water brush to outline each of the pieces and tore them out.
After my pieces were dry. I flipped them upside down and took a wire brush around the edges of each piece.
I hand chalked each piece around the edges using Colorbox flower petal in Chestnut Roan.
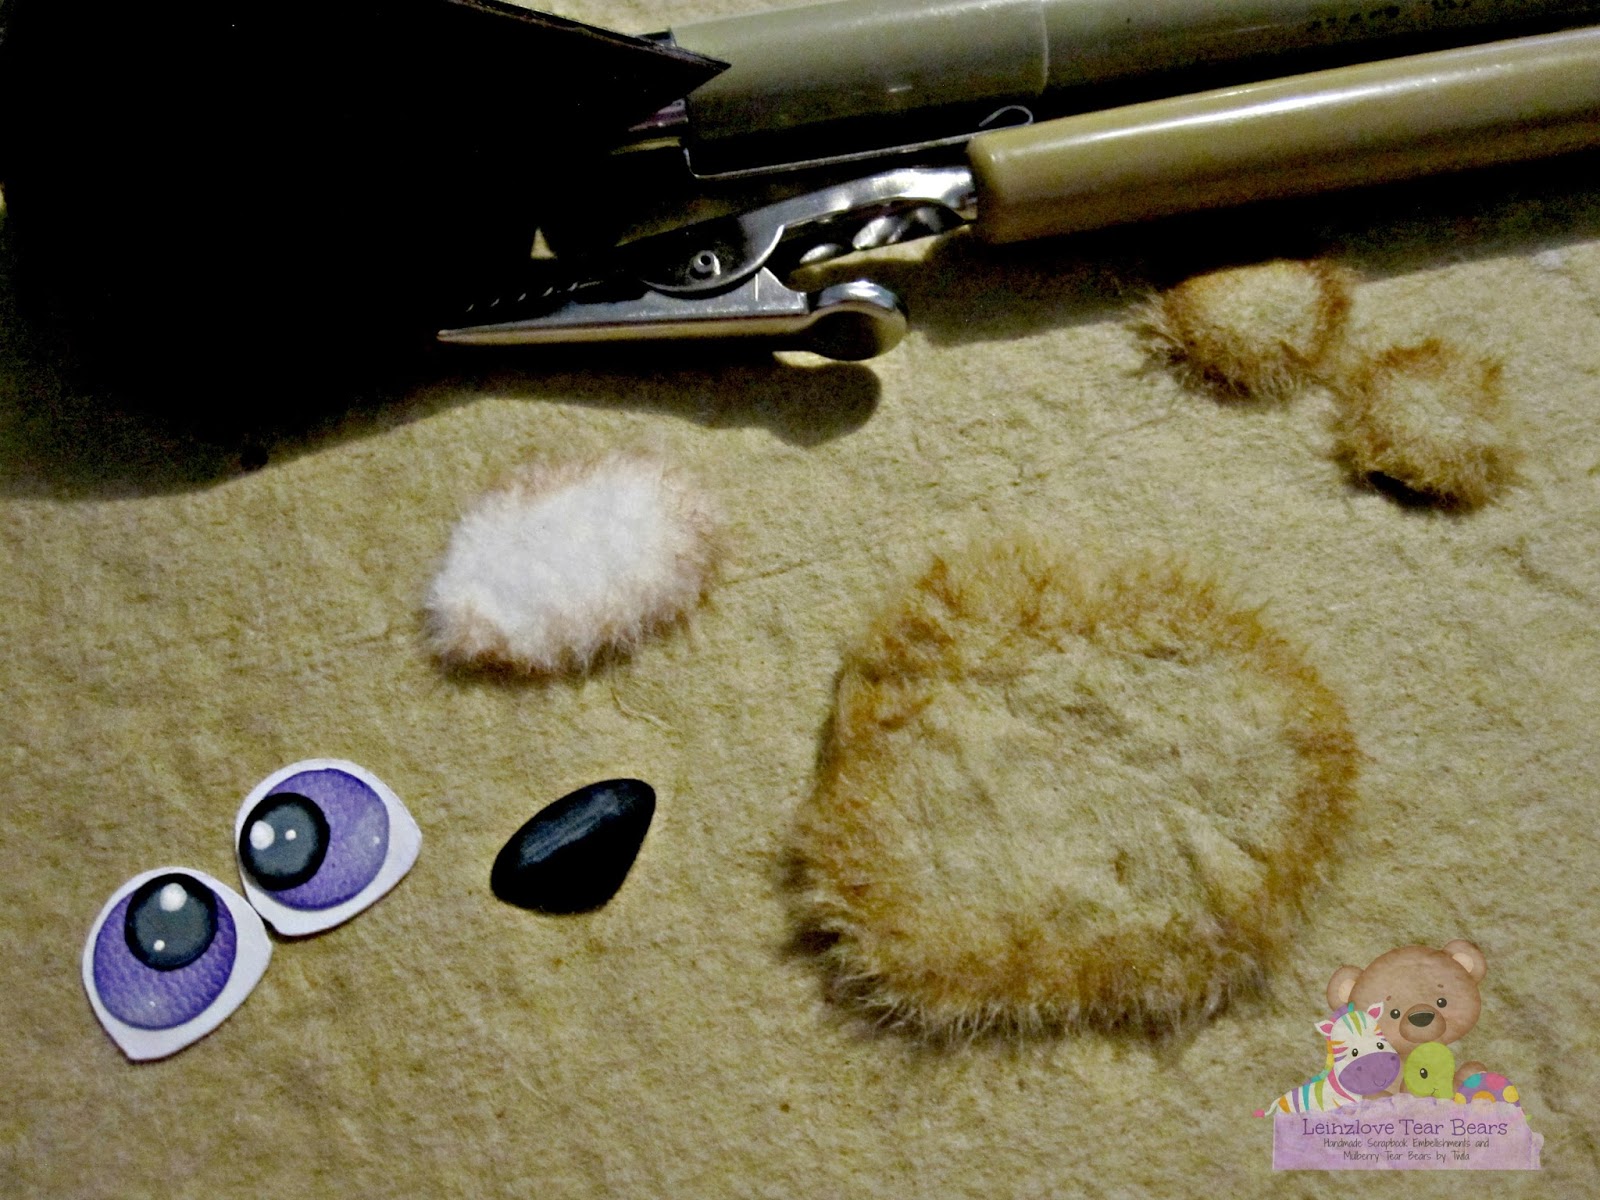
Supplies I used for my Tear Bear Katoodle Bear Eyes.
My Bear was small about 2 1/2 inches tall... So, I decided to make the eyes before putting them onto my tear bear face.
I then assembled my bear and added a pacifier and a baby blanket to make him fit my Halloween Baby theme. I took a soft brush and brushed this bear.
I hand chalked and assembled all of my pieces. (I previously cut these with my Cricut Explore.)
I then attatched my bear to my decorated toilet paper roll piece, added my title and all of my embellishments. These stickers are from K& Company, I also added sequins.
The outside of the box features more embellishments and a cute black ribbon.
This was soooo fun. I made this using super cute stamp sets from Craftin' Dessert Diva's.
*Wildly Cute
*So Long
*Sweet Wishes
I embellished with stars and sequins.
I followed the picture inspiration linky party going on over at Craftin' Dessert Diva's.
I used DoodleBug Designs paper and the "Happy Birthday is a Cricut image."
The tear bear is created using Mulberry paper, the stamped images were stamped onto cardstock outlines I cut. I love that CDD has svg outlines to go with some of their stamps.
This was my first shaker. Next time I'd like a bigger tear bear and a bigger frame.
Today, I'm sharing this "Sweet Wishes" Tag/ Bookmark.
I used cardstock from DoodleBug Designs to make the frame.
This tag cut is from the Cricut cartridge "Tags, Boxes and more 2".
The snail, cupcake and sweet wishes sentiment are stamps from the super cute "Sweet Wishes" set from Craftin Desert Divas. (New stamper, New addiction.)
The sweet bear, sand, water, sea shells, bucket are were made using svg cut files from Little Scraps of Heaven Designs.
The crab is an embossed paper punch. I also added enamel dots by the sentiment and connected a matching ribbon.
This tag is under 6 inches. The snail is a bit over 1 inch wide, so that tells you how small the pieces to are for this Keeping Cool scene. The middle square measures 4 inches wide, 3 inches high.
These Owl Scrapbook Embellishments were hand torn and put together piece by piece with mulberry paper. I make these tear bears myself. These are made with a pattern from Little Scraps of Heaven Designs.